How to Find Every Service on Your Home Network with an Nmap Scanner
Forgotten containers, unknown ports, mystery devices. Learn how to scan your own network with Nmap and turn what you find into a clean dashboard with Quick Homepage.
From Unknown Ports to a Tidy Dashboard in Three Steps
Scan only networks you own or are explicitly allowed to test.
Every homelab has at least one mystery: a container you forgot, a Raspberry Pi that is still running, or a service answering on a port you never wrote down. The fastest way to get an honest inventory is a port scan, and Nmap is the standard tool for the job.
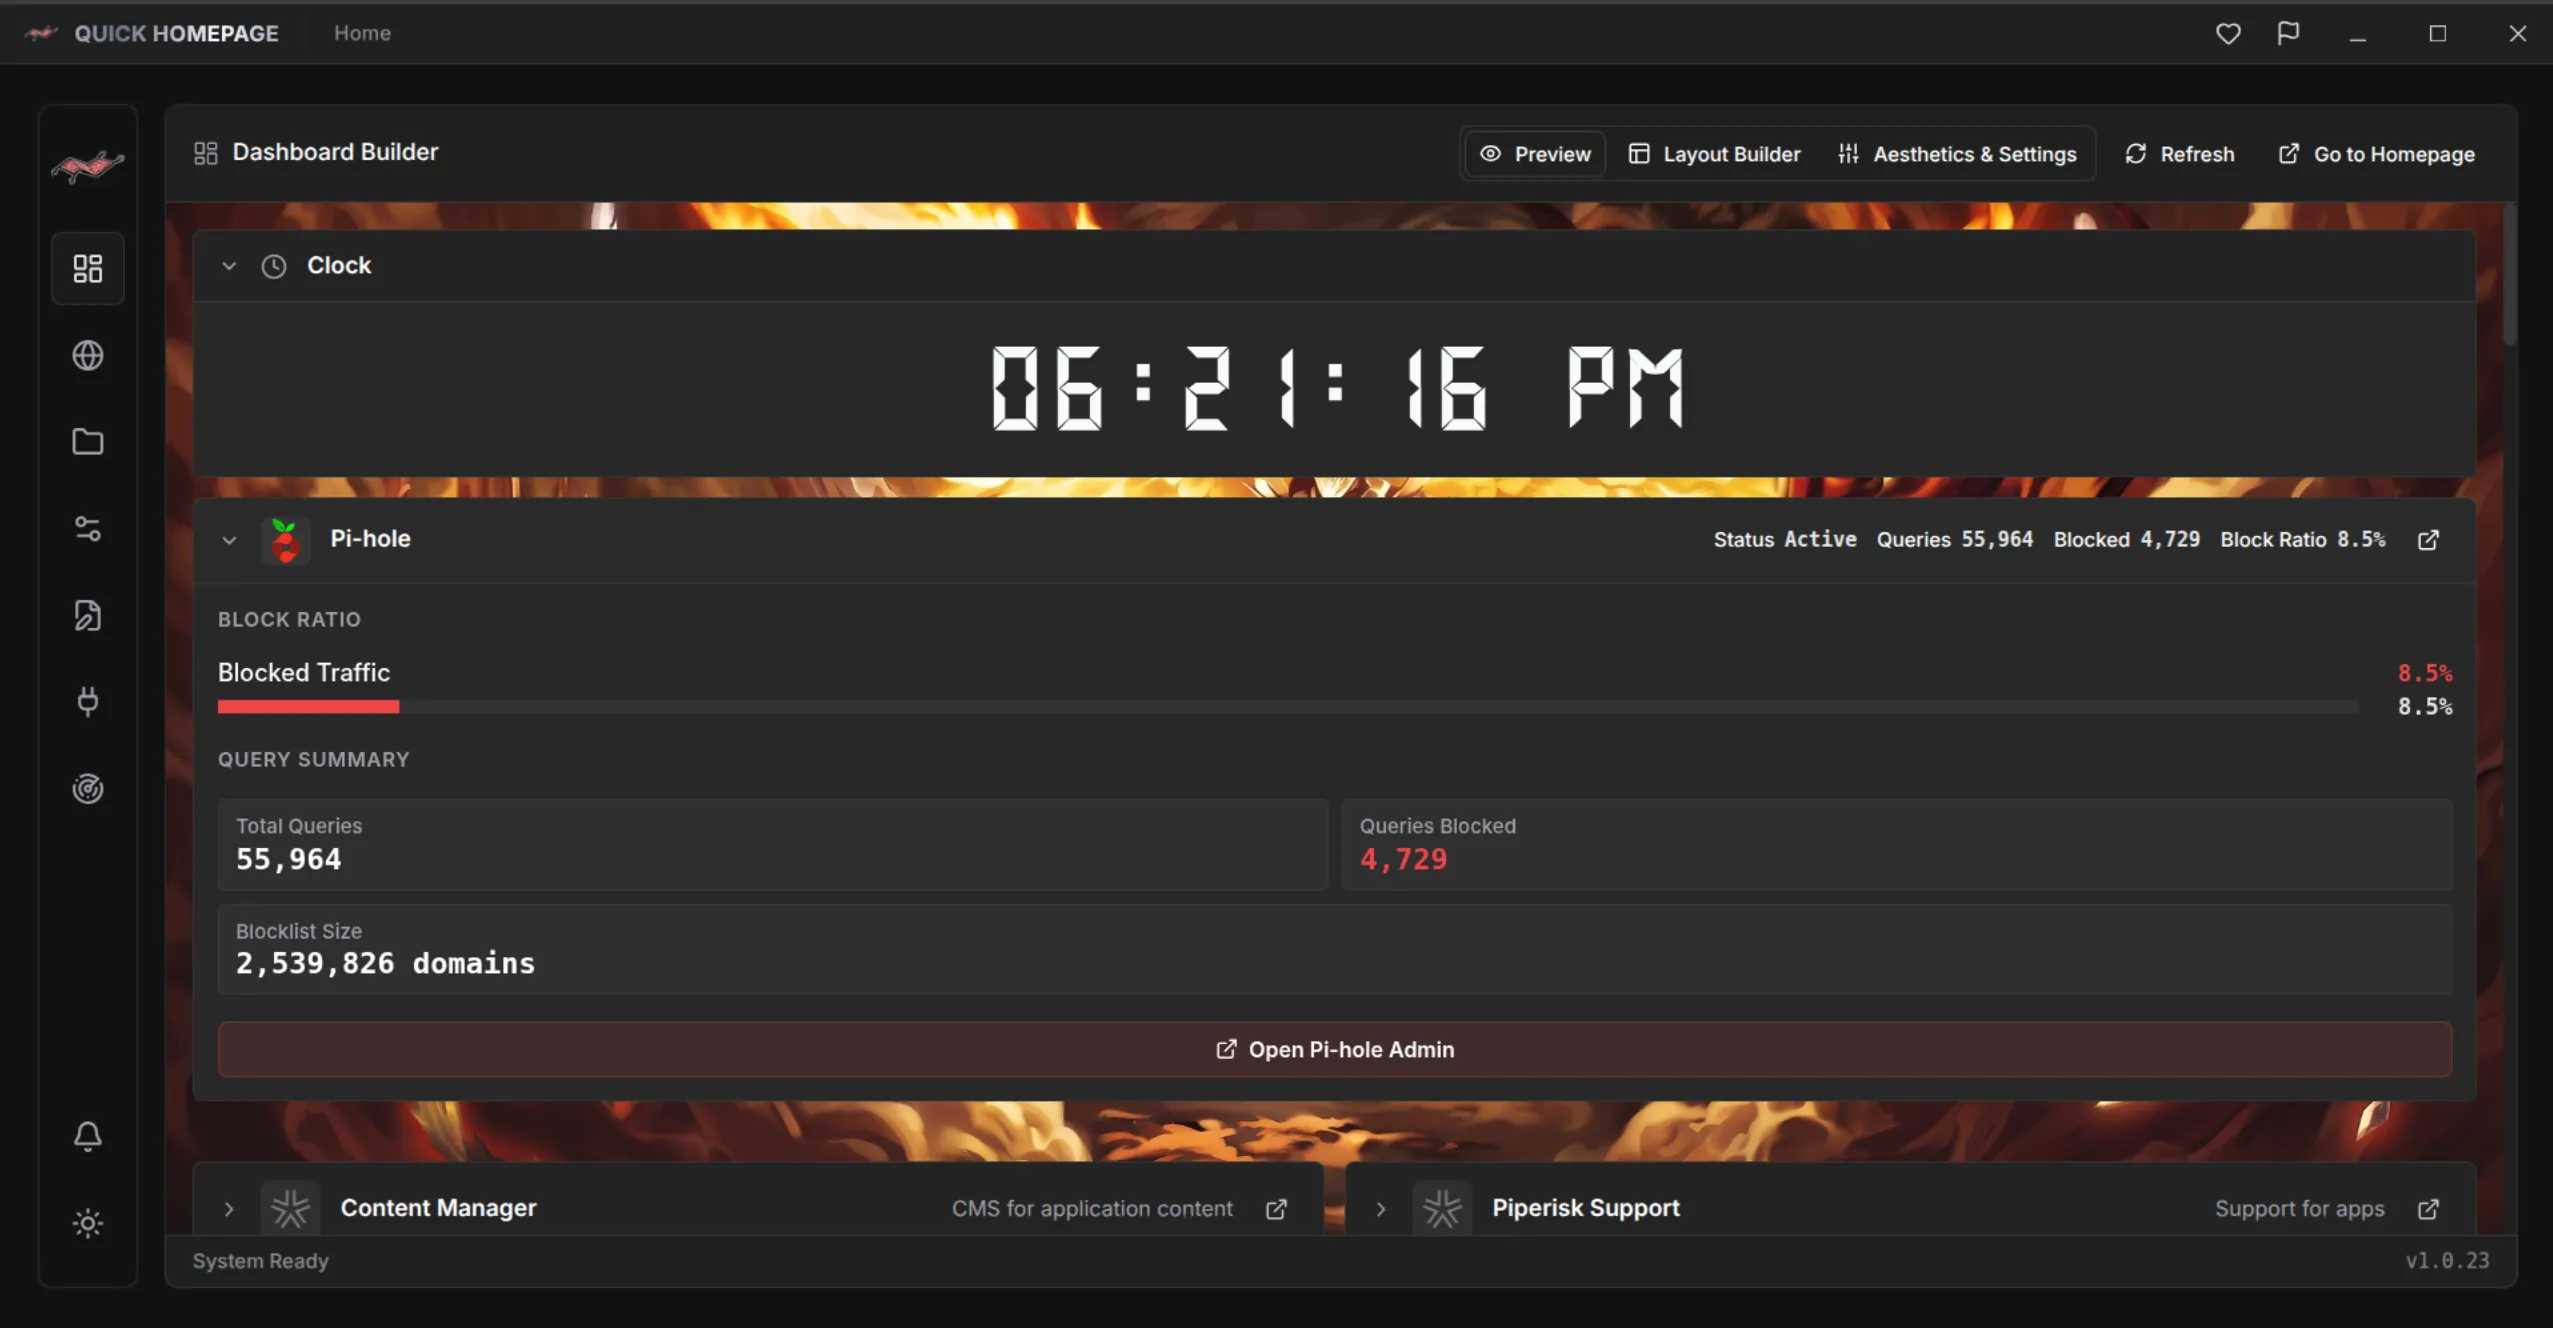
Running Nmap by hand works, but the output is a wall of text you then have to copy into bookmarks. Quick Homepage builds the scanner into your dashboard, so discovery and organization happen in the same place.
Step-by-Step: Discover and Save Your Services
1. Install Quick Homepage on Linux
sudo snap install quick-homepageQuick Homepage is published on Snapcraft, so installation is a single command on any distribution with snap support. Windows support is planned for the future.
2. Scan Your Local Network
Open the network and port scanner and start a scan of your local network, which is typically a range such as 192.168.1.0/24. The built-in Nmap scanning lists hosts, open ports, and the services running on them.
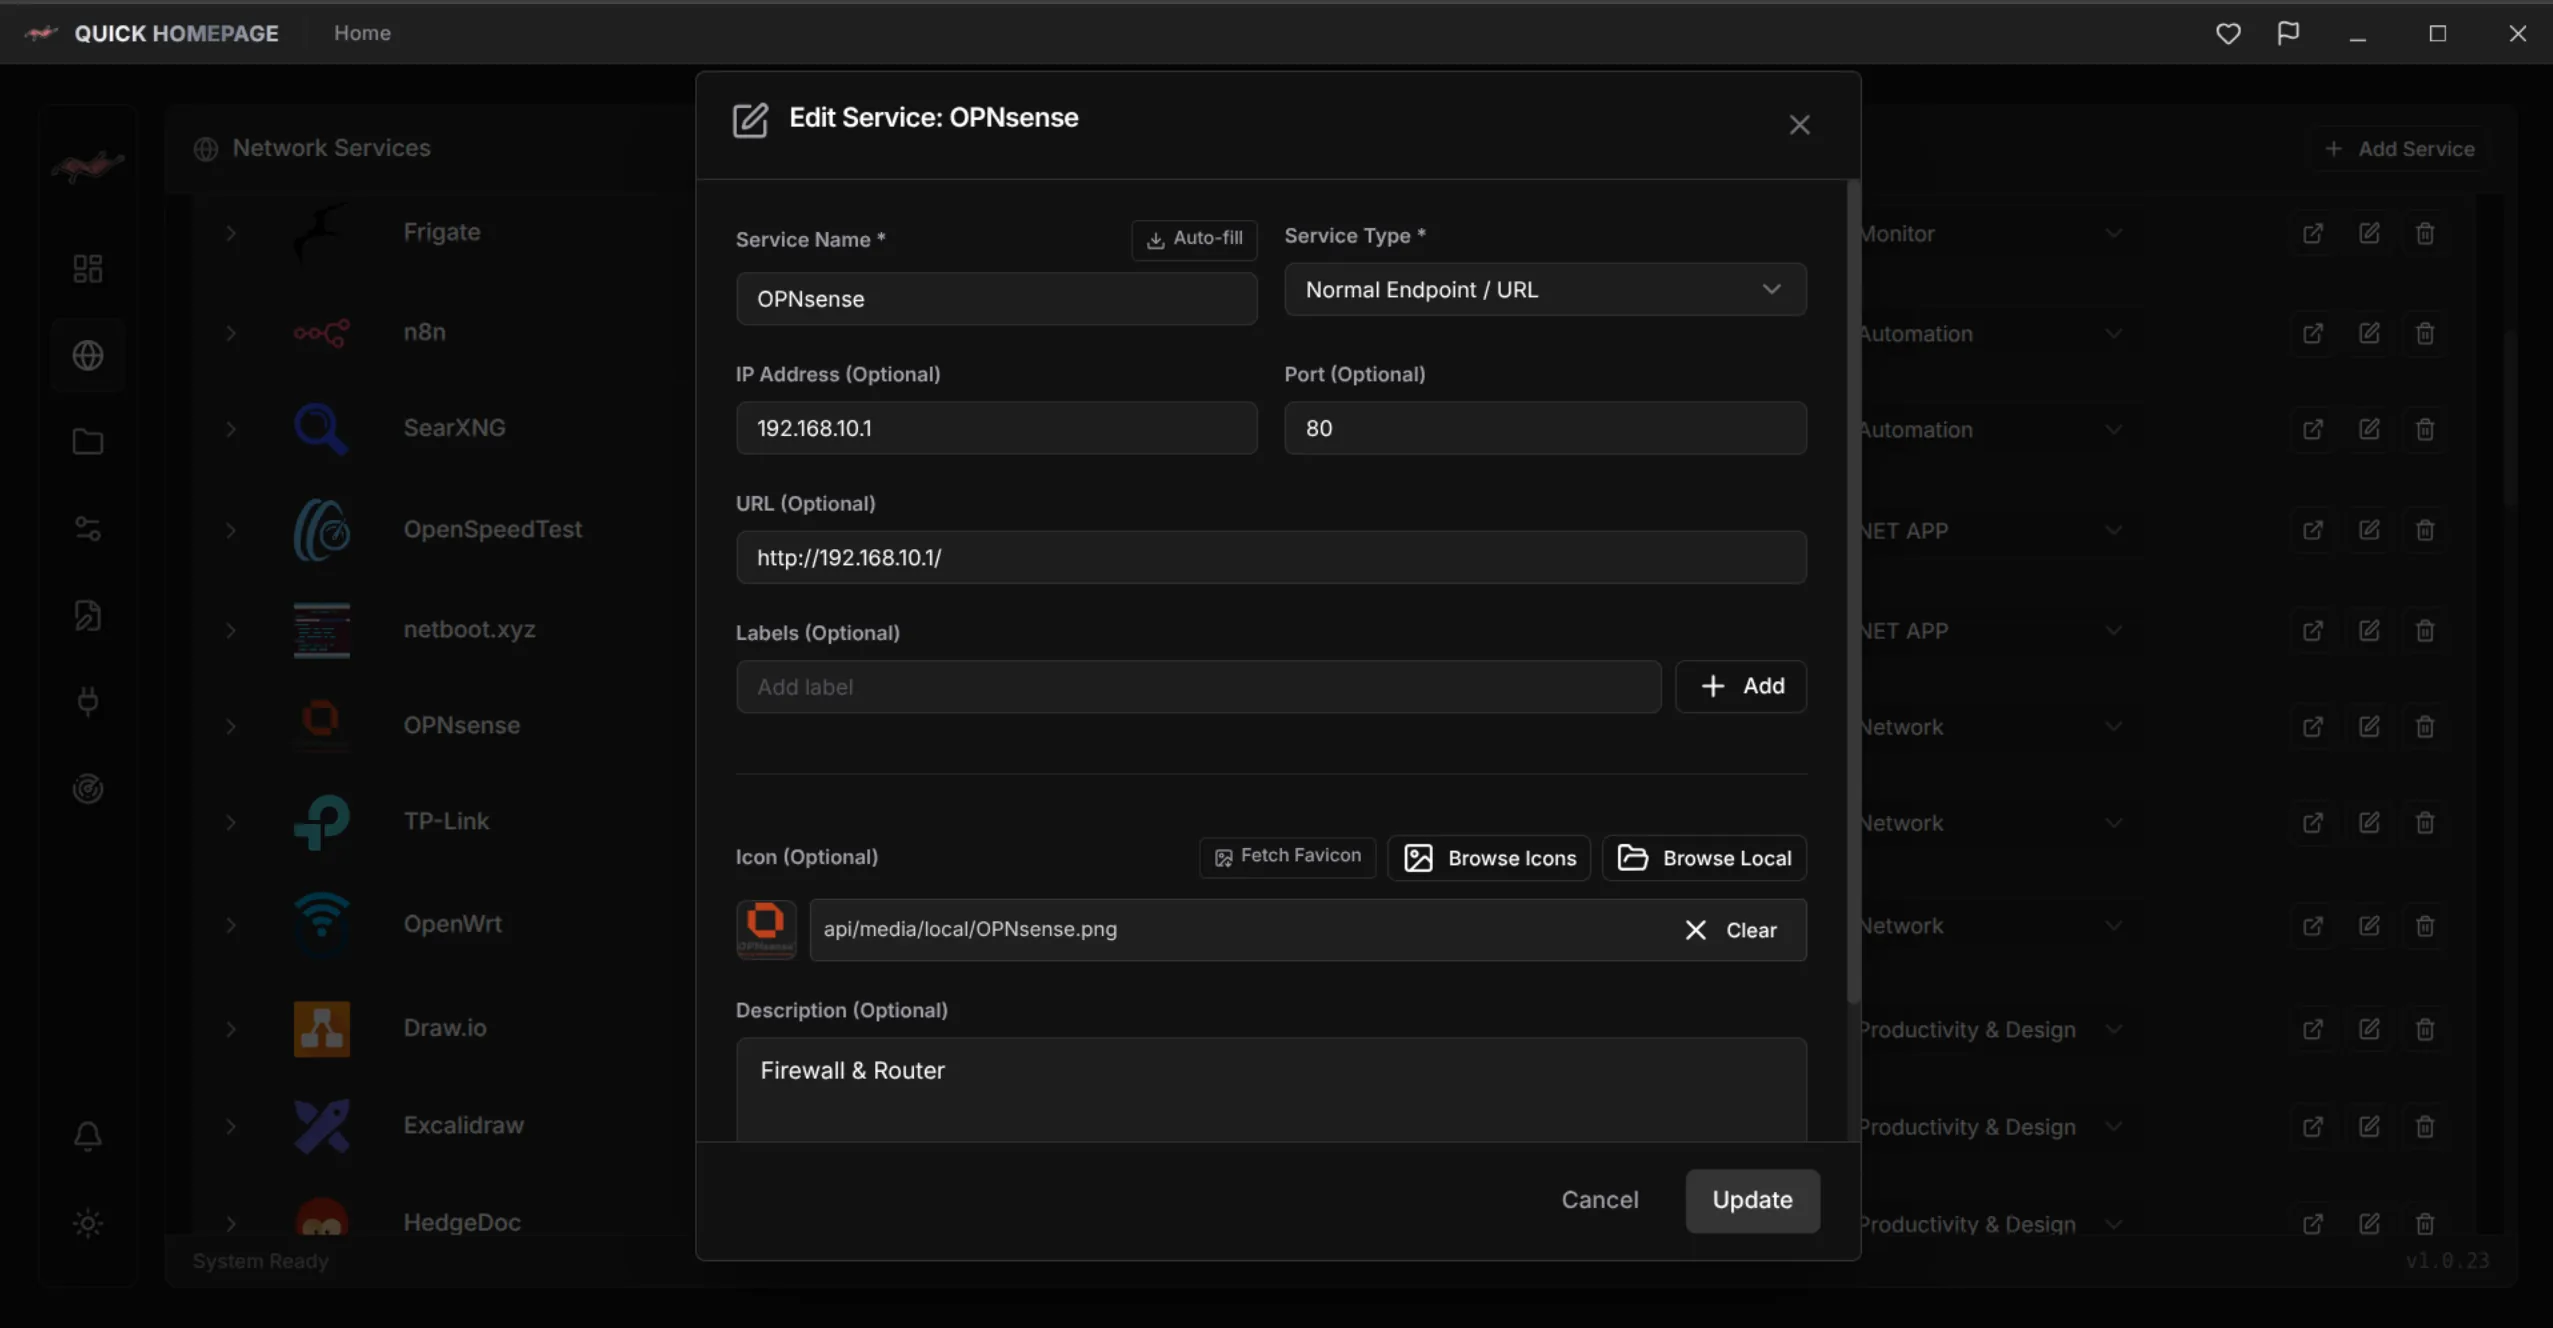
3. Save What Matters
Turn useful results into dashboard entries with a custom name, URL, description, and icon, then place them in a collection such as Media, Network, or Storage. Anything you skip stays out of the way.
Know Your Ports, Scan Responsibly
A few common ports to recognize, plus the ground rules for safe scanning.
- 22: SSH remote access
- 80 and 443: Web interfaces over HTTP and HTTPS
- 8006: Proxmox VE
- 8096: Jellyfin
- 8123: Home Assistant
- 9000: Portainer
- 32400: Plex Media Server
Scan Responsibly
Only scan networks you own or have clear permission to test, because scanning other people's networks can be illegal and may trigger security alerts. Remember too that a default port is only a hint, since any service can listen on any port. Confirm what you find before you trust it.
Keep going: see what Quick Homepage can do on the project page (/en/project/QuickHomepage), read the full introduction (/en/blog/what-is-quick-homepage-homelab-dashboard), or learn how to pick the right dashboard for your setup (/en/blog/how-to-choose-a-homelab-dashboard).

Quick Homepage
Every Service on Your Network, One Click Away
Quick Homepage is a desktop and self-hosted homelab dashboard that discovers running services with built-in Nmap scanning and organizes them into collections. Linux is supported today, with Windows planned.
- Built-in Nmap network and port scanner finds hosts, ports, and services
- Custom names, URLs, descriptions, and icons with a built-in icon and media library
- Collections, layouts, plugins, and live widgets for your homelab
- Configure through the GUI or edit YAML files directly