How to Organize Your Homelab: A Simple System for Naming, Grouping, and Documenting Services
Services multiply and notes go stale. Use a simple three-habit system—real inventory, collections, consistent naming—to keep your homelab documented, and let Quick Homepage do the heavy lifting.
Why Homelabs Turn into Chaos (and How to Prevent It)
Documentation fails when it takes more effort than the work it describes.
Most homelabs do not get messy through carelessness. They get messy because every new service starts as a quick test: a container here, a virtual machine there, an admin panel on whichever port happened to be free. Six months later nobody, including you, can say what runs where.
The fix is not a bigger spreadsheet. It is a small system you will actually follow. Here are three habits that work, and how Quick Homepage, a desktop and self-hosted dashboard that supports Linux today with Windows planned, helps with each one.
Three Habits That Keep a Homelab Under Control
1. Start from a Real Inventory, Not Memory
Before you organize anything, find out what is actually running. The built-in Nmap network and port scanner in Quick Homepage lists hosts, open ports, and services on your local network, giving you an honest starting list that includes the ones you forgot. Only scan networks you own or have clear permission to test.
2. Group Services into Collections by Purpose
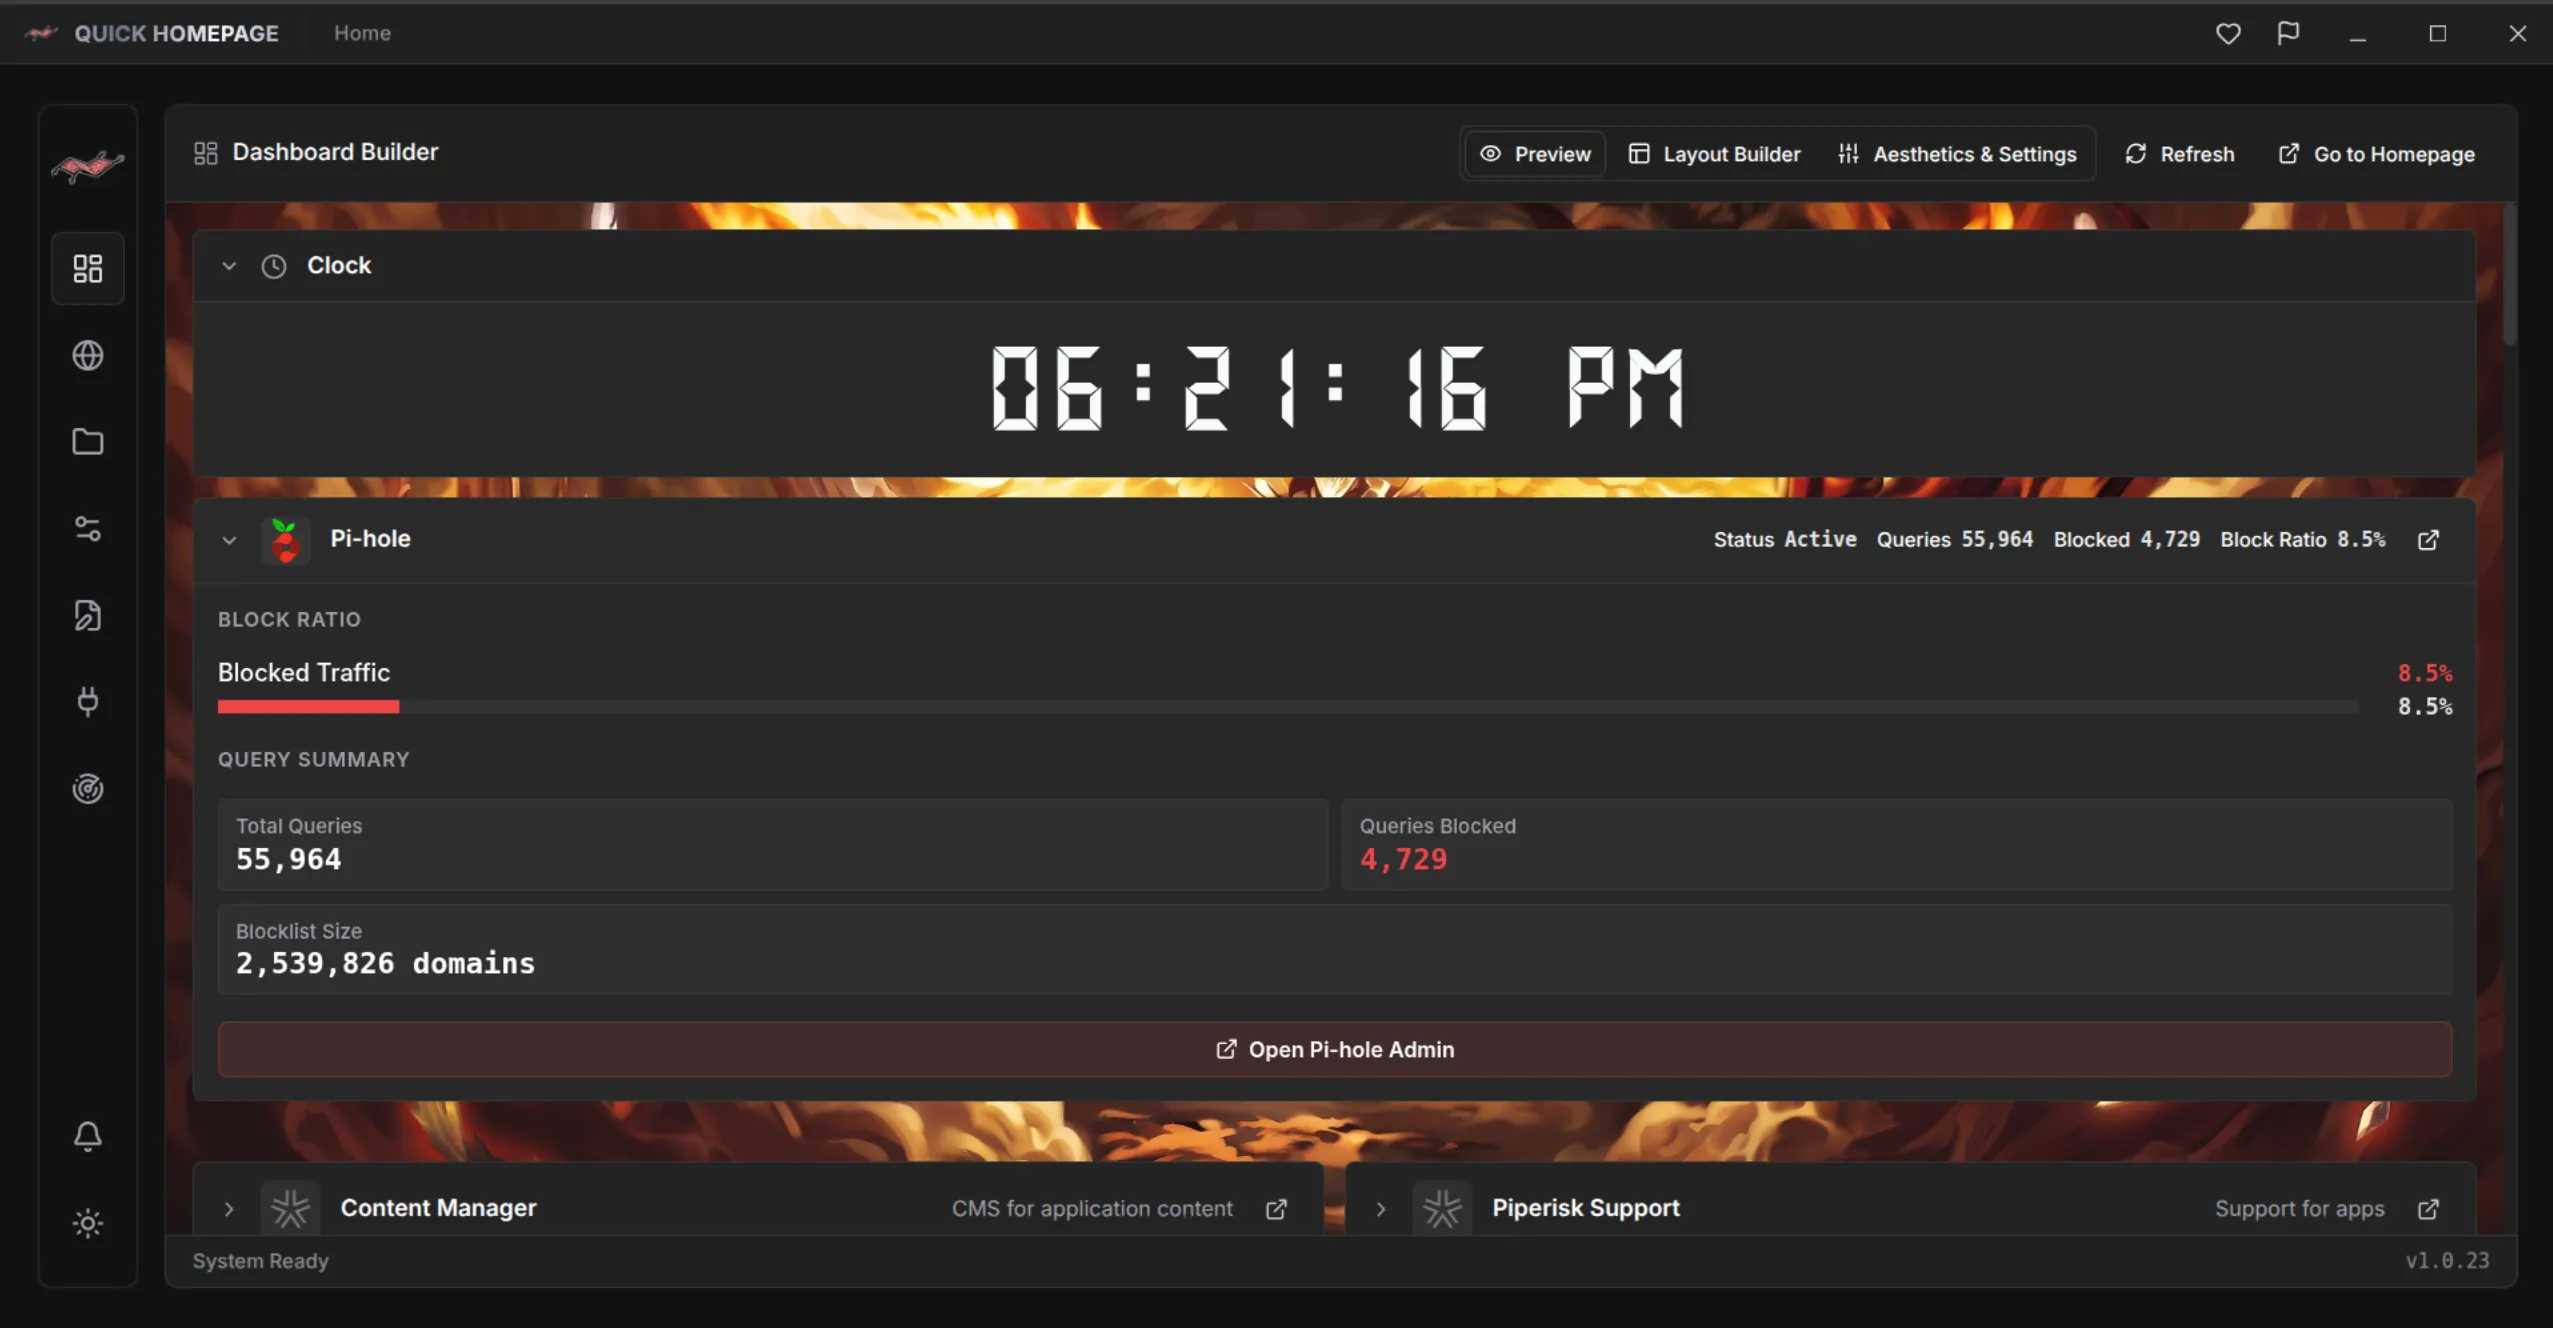
Sort services by what they do, not by when you installed them: Media, Network, Storage, Monitoring, Management. Collections and layouts in Quick Homepage mirror this structure, so your dashboard looks the way you already think about your lab.
3. Name and Label Everything Consistently
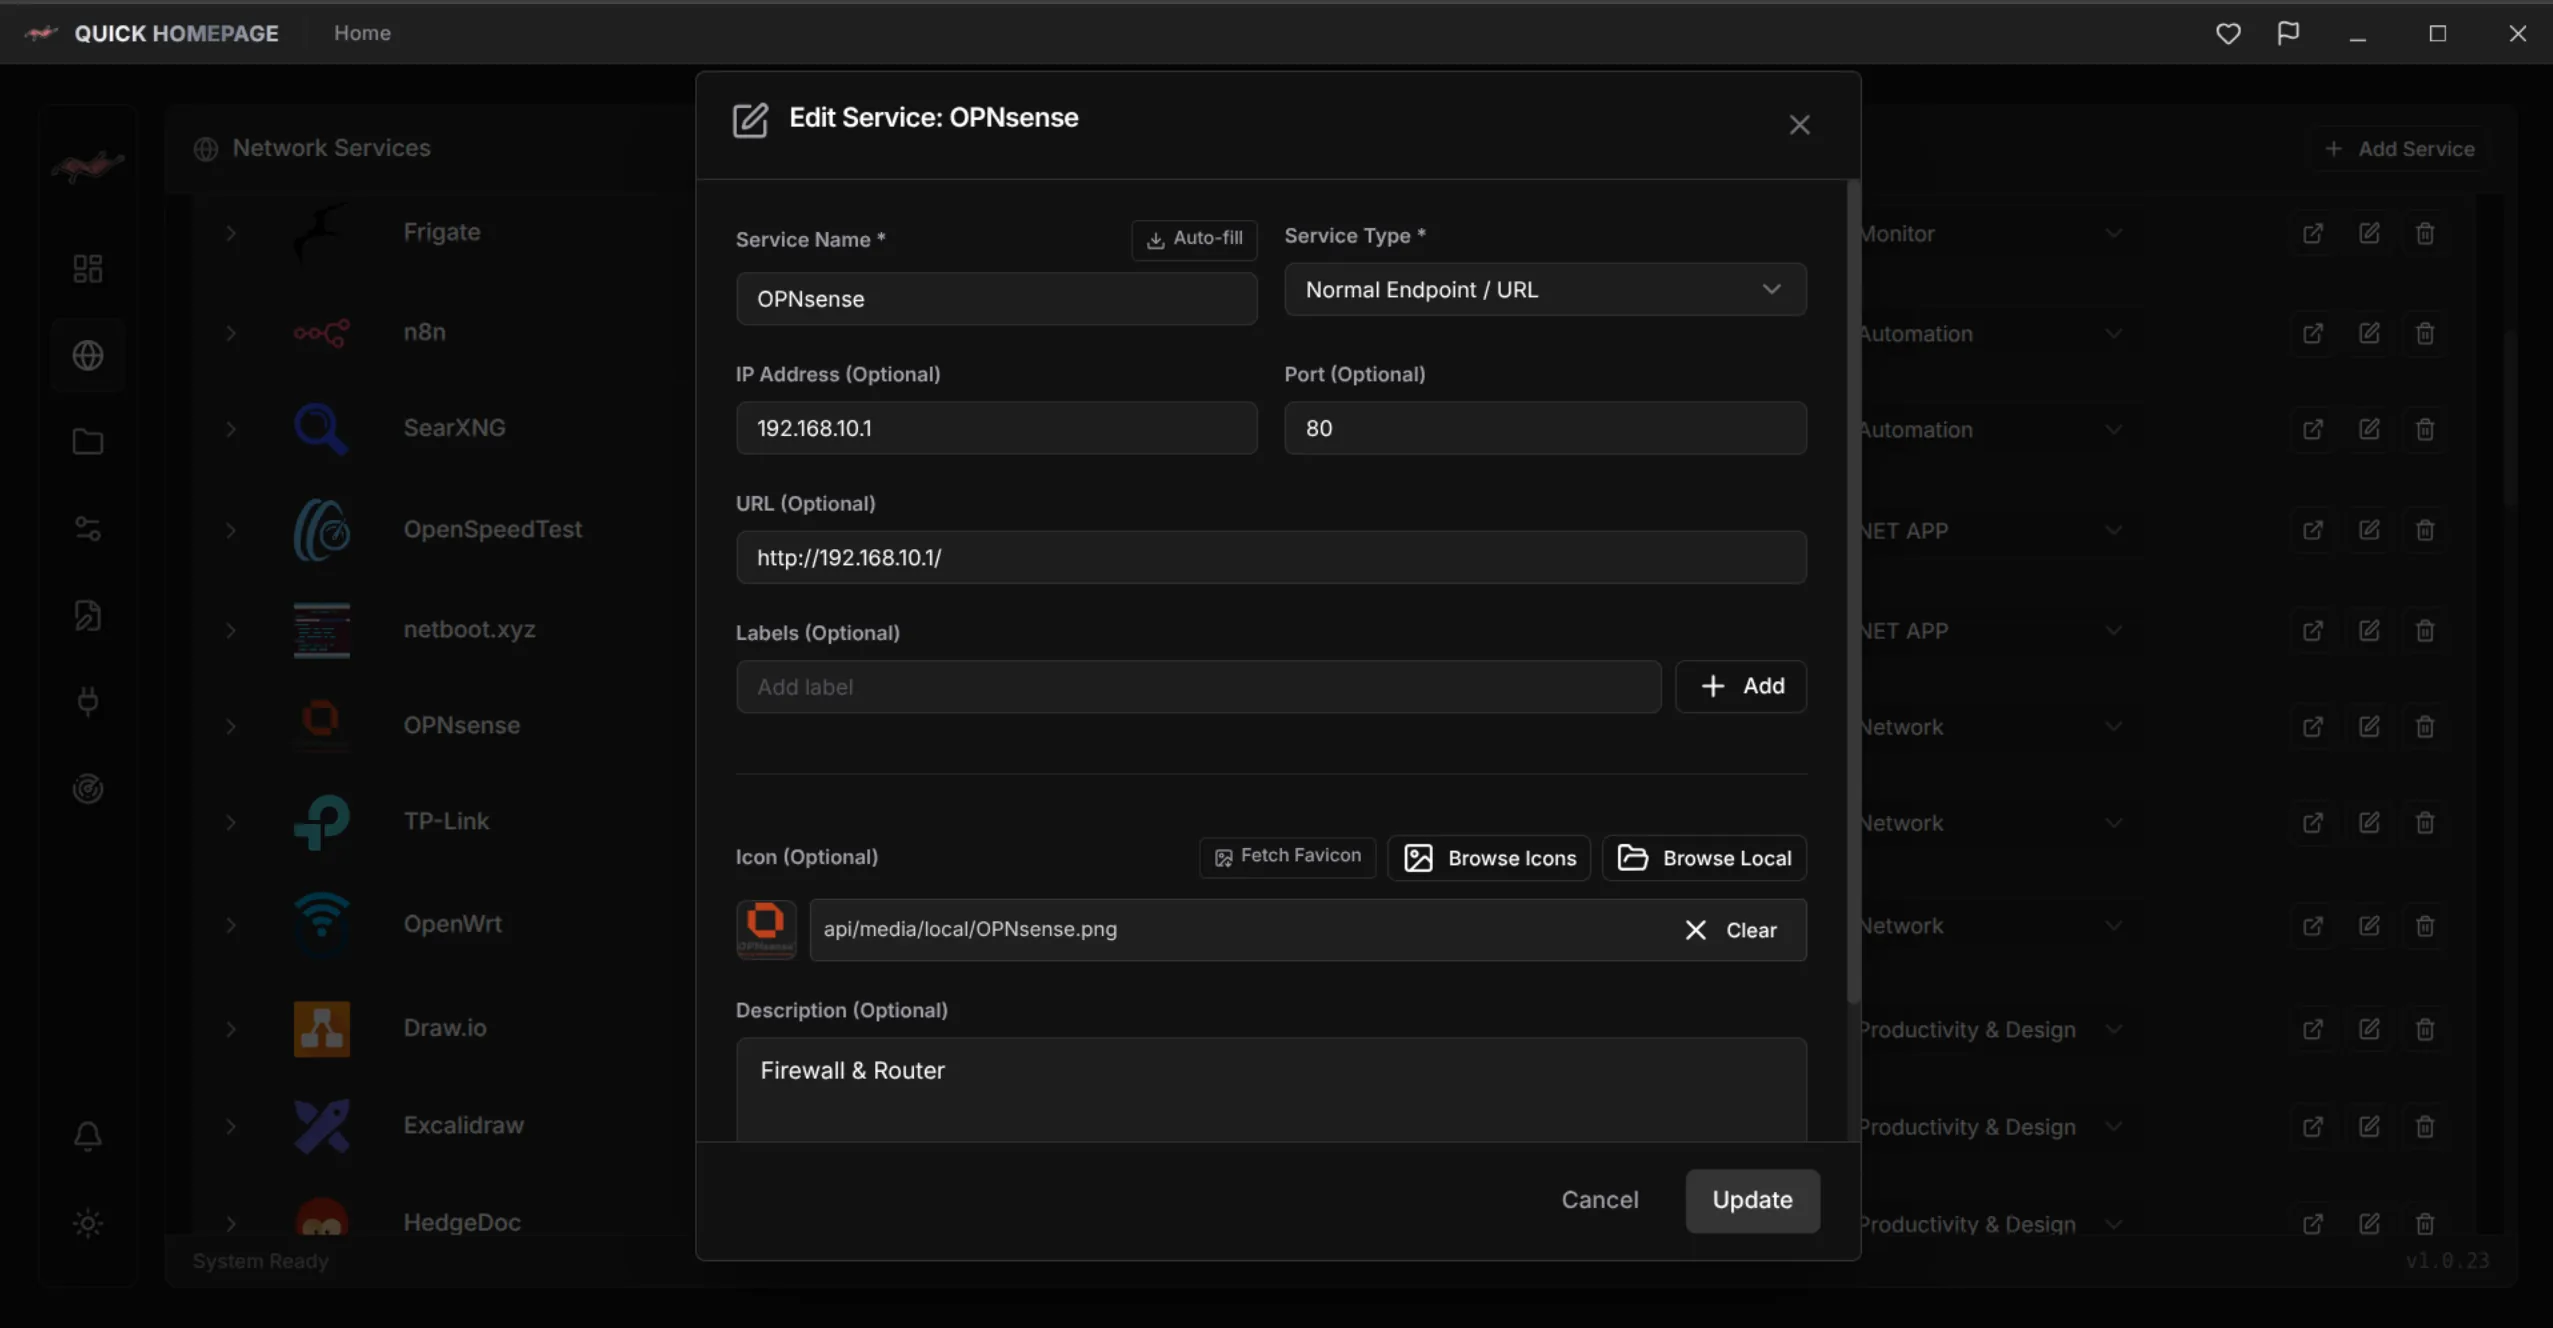
Give every service a clear name, a working URL, a short description, and an icon. The description is the most valuable part, because it answers “what is this and why do I run it?” months later. The built-in icon and media library, or your own uploaded images, make each tile recognizable at a glance.
Keep It Alive: A Simple Maintenance Checklist
Small habits that keep your dashboard accurate over time.
- Re-scan regularly: Run the network scan after adding or removing hardware and compare the results with your dashboard.
- Write a one-line description: Note the purpose of every entry so future you does not have to guess.
- Keep names consistent: Pick one convention, such as service name plus role, and stick to it.
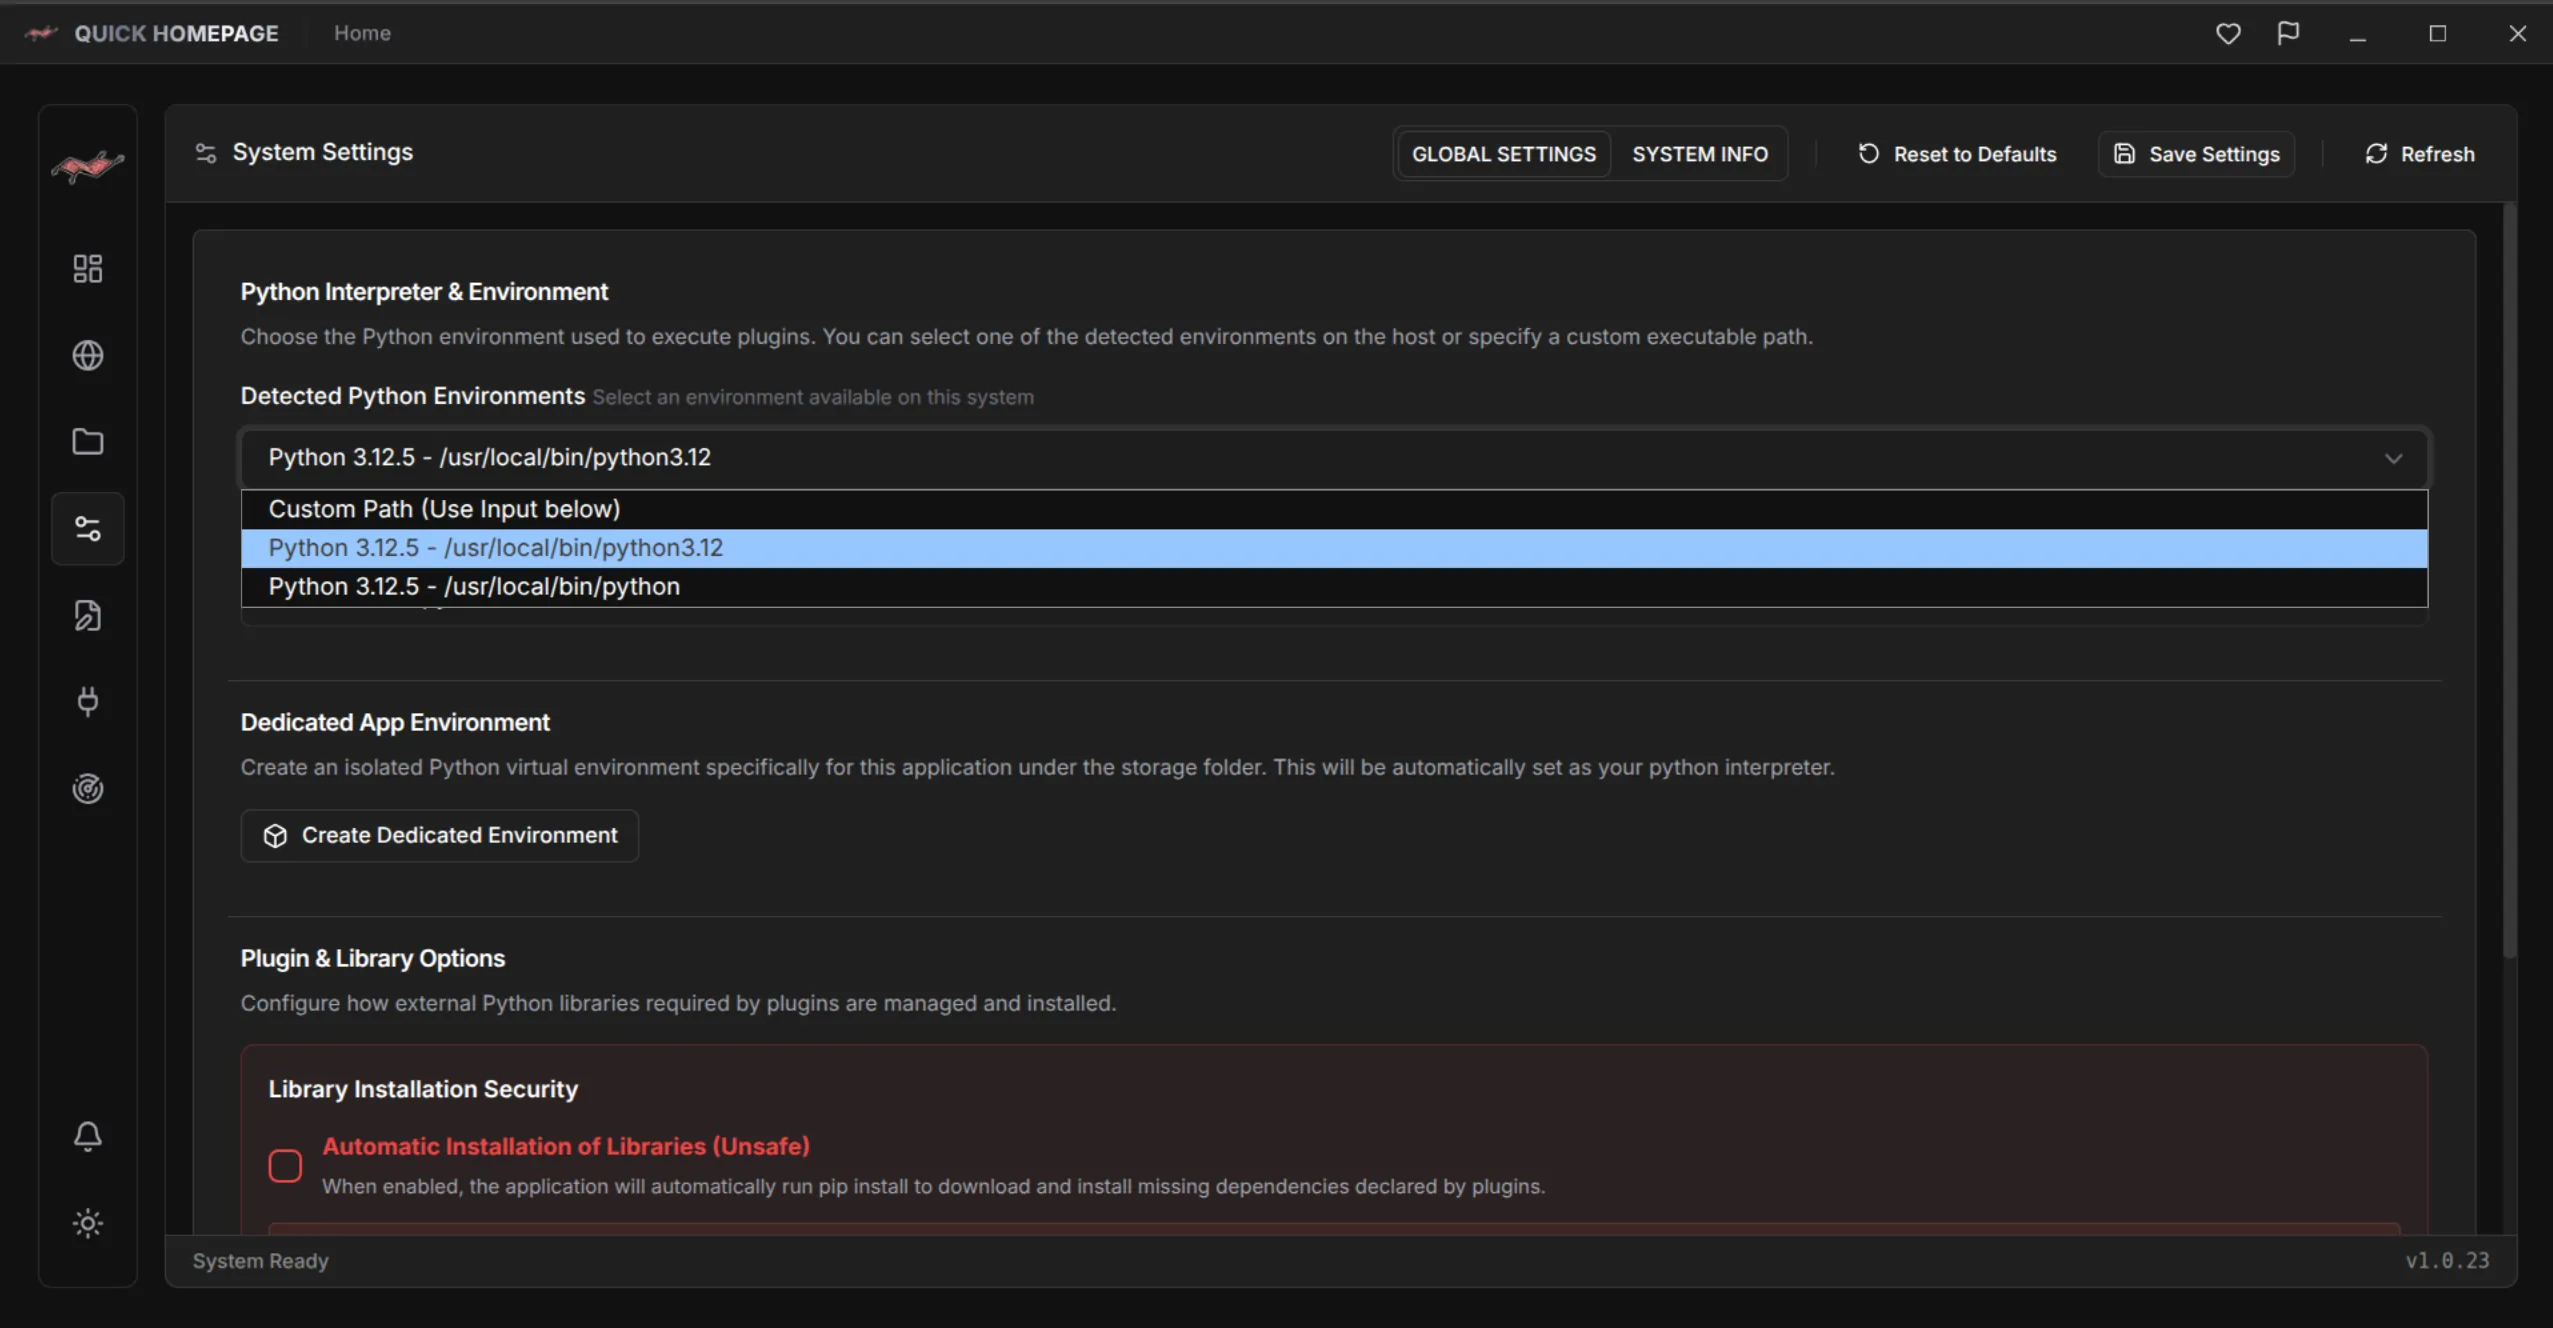
- Back up your configuration: Quick Homepage can be configured through the GUI or by editing YAML files directly, and plain-text files are easy to back up and track.
- Remove what you retire: Delete dead entries so every tile on the dashboard is one you can trust.
A dashboard is only useful if you trust what it shows.
Start Small, Then Grow
You do not have to document everything on day one. Scan your network, save the five services you use most, drop them into collections, and add the rest over time. Because Quick Homepage also supports plugins and live widgets, you can later upgrade from simple links to at-a-glance service status.
Ready to try it? Install it with sudo snap install quick-homepage, visit the Quick Homepage project page (/en/project/QuickHomepage), learn how to scan your network for services (/en/blog/scan-home-network-nmap-quick-homepage), or compare dashboard approaches (/en/blog/how-to-choose-a-homelab-dashboard).

Quick Homepage
Inventory, Group, and Document Your Homelab in One Place
Quick Homepage is a desktop and self-hosted homelab dashboard that discovers services with built-in Nmap scanning and organizes them into collections with custom names, descriptions, and icons. Linux is supported today, with Windows planned.
- Built-in Nmap scanner builds your service inventory automatically
- Collections and layouts that match how your homelab is structured
- Custom names, descriptions, and icons with a built-in icon and media library
- Configure through the GUI or edit readable YAML files directly